
11 min read
Equipment & Gear · Workflow Guide
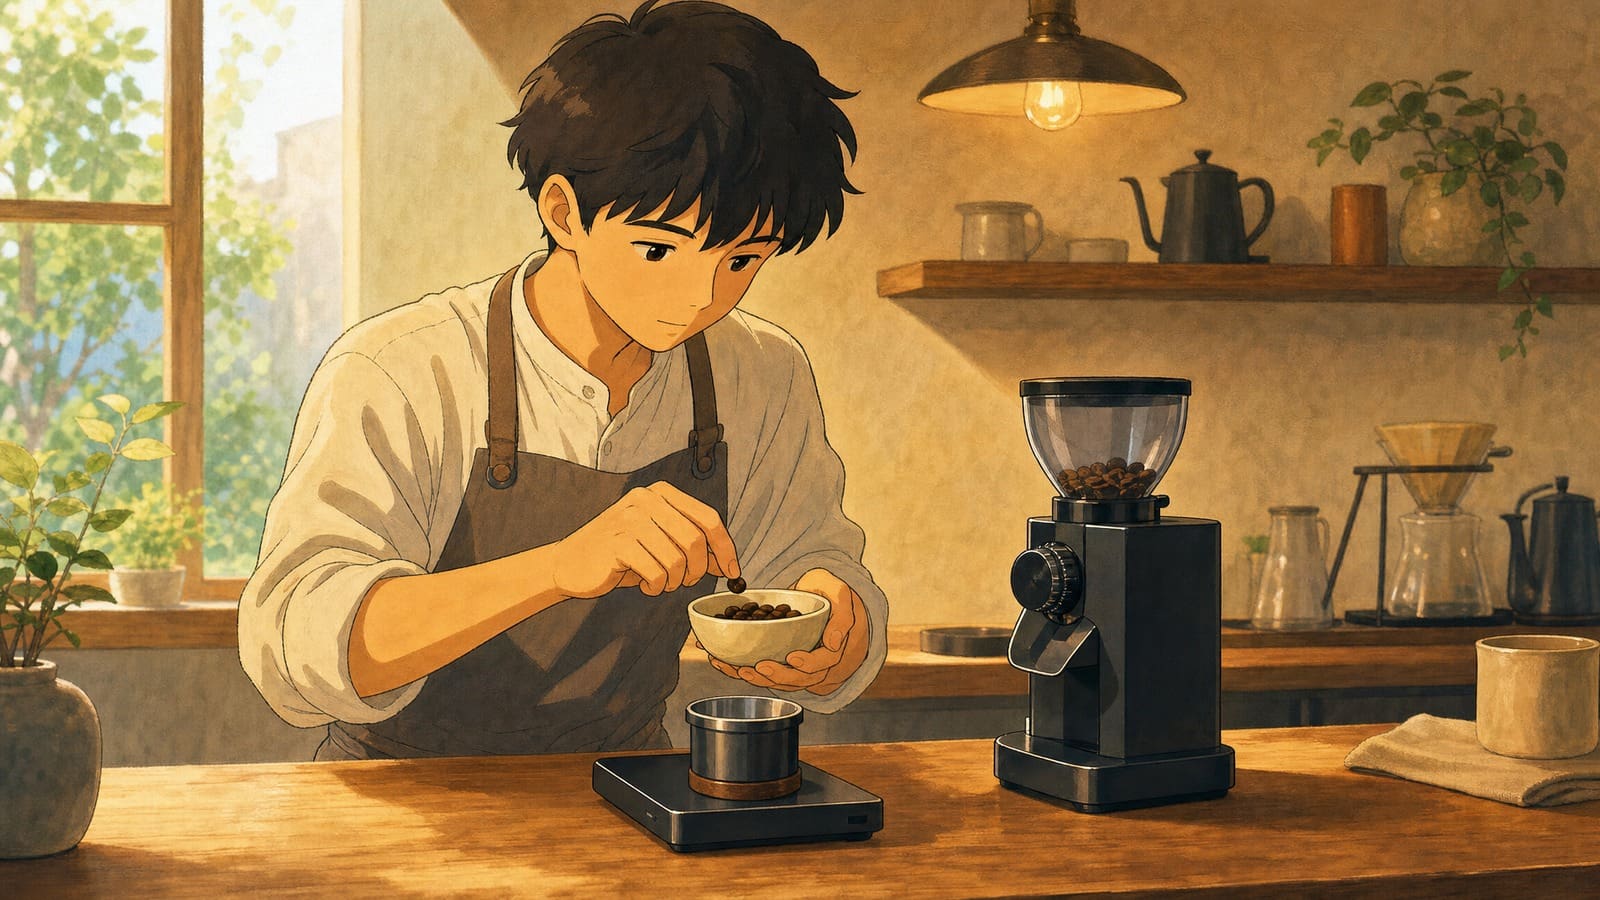
Single-Dose
Grinder Workflow
Weigh it. Grind it. Don’t waste it.
A disciplined single-dose workflow cuts retention, reduces waste, and sharpens every dial-in—especially as specialty coffee prices climb.
Most grinder problems aren’t grinder problems. They’re workflow problems.
The grinder gets blamed for inconsistency, stale shots, and wasted beans—but in a lot of cases, the real culprit is a loose, retention-heavy routine that bleeds coffee quietly every single day. A disciplined single-dose grinder workflow fixes that. It tightens your dose, reduces staling, and gives you a cleaner read on every dial-in adjustment you make.
This guide covers the full workflow: what it is, why it works, and exactly how to execute it—from RDT to bellows to purge habits.
Quick Answer
A single-dose grinder workflow means weighing and grinding only the coffee you need for one brew, then clearing the grinder of retained grounds before the dose reaches your portafilter or brewer. The goal is precision and freshness—no old grounds mixing with new, no wasted beans sitting in a hopper, and a dial-in process you can actually trust.
The Case for Precision
Why This Matters More Now
Specialty coffee prices have climbed steadily, and the cost of waste is no longer trivial. A grinder retaining 1–3 grams per session might feel negligible until you do the math on a $30–$40 bag of single-origin beans. Beyond the economics, stale retained grounds are a real flavor problem—old coffee mixed into a fresh dose muddies your extraction and makes it nearly impossible to diagnose what’s actually going wrong.
For anyone dialing in a new bean, the stakes are even higher. Every gram you lose to retention is a gram that didn’t contribute to the shot you’re evaluating. Dial-in losses add up fast, especially when you’re pulling three or four test shots to find your target. A cleaner workflow means fewer wasted shots and faster, more reliable results.
The math is real: A grinder retaining 2g per session used daily loses roughly 730 grams per year to retention alone—nearly two full bags of specialty beans that never made it into a cup.
The Core Problem
What Is Retention and Why Does It Wreck Your Workflow?
Retention refers to ground coffee that gets trapped inside the grinder—in the burr chamber, chute, or exit path—after grinding is complete. Some grinders retain almost nothing. Others hold back several grams consistently.
The problem is twofold. First, retained grounds go stale between sessions. When you grind again, those old grounds mix with fresh ones and exit into your dose without warning. Second, retention makes your actual dose unreliable. If you weigh out 18 grams, grind it, and 1.5 grams stays inside the machine, you’re pulling a 16.5-gram shot while your recipe says 18. That gap is invisible unless you’re weighing your output, not just your input.
High-retention grinders are particularly brutal for single-origin or light-roast work, where small dose changes have an outsized effect on flavor. Knowing your grinder’s retention behavior is the foundation of any serious workflow.
The System at a Glance
The Core Workflow, Step by Step
Five steps. Each one small on its own—together, they fundamentally change the consistency of your results.
Foundation
Weigh Before You Grind
Weigh whole beans to your target dose before grinding—not after. A 0.1g scale makes every dial-in variable meaningful and repeatable.
Static Control
Use RDT
A few drops of water on the beans before grinding breaks the static charge that causes clumping, chute-clinging, and spraying grounds outside the cup.
Clean Output
Grind Into a Dosing Cup
Skip the hopper-to-portafilter grind. A dosing cup gives you a checkpoint to weigh output, check distribution, and transfer cleanly every time.
Chute Clearance
Use Bellows or Tap
A bellows blasts air through the exit chute after grinding, recovering retained grounds. A firm tap on the grinder body works if you don’t have one.
Cross-Contamination
Purge When Switching
Switching beans or grind settings? Grind and discard 2–5g of the new coffee to clear old grounds from the burr chamber before your actual dose.
Step-by-Step Detail
How to Execute Each Step
Weigh Before You Grind
This sounds obvious, but it’s where most people cut corners. Weigh your whole beans to your target dose—not your ground coffee after the fact. A 0.1-gram kitchen scale works fine for most home setups. This gives you a consistent starting point and makes every variable you adjust meaningful.
Use RDT (Ross Droplet Technique)
RDT involves adding a few drops of water to your whole beans just before grinding—typically with a small spray bottle or a wet finger. The moisture reduces static, which is one of the main reasons ground coffee clings to the chute, exits unevenly, or sprays outside the dosing cup. You’re not adding enough water to affect extraction meaningfully—you’re just breaking the static charge. On most grinders, RDT visibly improves how cleanly grounds exit the machine.
Grind Directly Into a Dosing Cup
Skip the hopper-to-portafilter grind if you can. Grinding into a dedicated dosing cup gives you a checkpoint: you can weigh the output, check for clumps, and distribute evenly before loading your portafilter. It also keeps the workflow clean when you’re switching between beans. Dosing cups sized to your portafilter basket make this seamless—they’re inexpensive and one of the highest-value small upgrades in a home espresso setup.
Use Bellows or Tap the Grinder
Even with RDT, some grounds will cling to the exit chute. A bellows attachment—a small rubber bulb that attaches to the grinder’s exit—lets you blast air through the chute after grinding to push retained grounds out. Not every grinder accepts a bellows, but for those that do, it can recover 0.5–1 gram or more per session. If you don’t have a bellows, a firm tap or two on the side of the grinder body can dislodge clinging grounds. It’s less effective but better than nothing.
Build Smart Purge Habits When Switching Beans
When you switch from one coffee to another—especially between roast levels—old grounds in the burr chamber will contaminate your new dose. The fix is to purge: grind a small amount of the new coffee (typically 2–5 grams) and discard it before pulling your actual dose. This is also the right moment to adjust your grind setting if the new bean requires it. Purging after a setting change clears out grounds ground at the wrong size. Skipping this step is one of the most common reasons a dial-in session produces confusing, inconsistent results.
Honest Assessment
When Single-Dosing Is Worth It
Single-dosing adds a few minutes to your morning routine. Whether that trade-off makes sense depends entirely on how you brew.
Worth It If You…
- Rotate between multiple coffees regularly
- Work with expensive or rare single-origin beans
- Pull espresso and need tight dose control
- Are actively dialing in and want clean feedback on each adjustment
Less Critical If You…
- Brew the same coffee every day from a high-volume hopper
- Prioritize speed over precision (a full hopper is faster)
- Use a batch brewer where dose variation of a gram or two has minimal impact
If you’re a one-bag-at-a-time, same-bean-every-day home brewer, the gains are real but modest. If you’re rotating beans, chasing precision, or working with expensive coffee, the workflow pays for itself quickly in reduced waste and better results.
Tools Worth Having
Gear That Makes the Workflow Cleaner
You don’t need to buy anything to start single-dosing—but a few tools make the routine significantly smoother.
Foundation
Precision Scale
0.1g resolution minimum. Weigh both input (whole beans) and output (grounds). The grinder is only as precise as your measurement.
Static Control
RDT Spray Bottle
A small fine-mist bottle for 1–2 drops of water before grinding. Dedicated RDT bottles are cheap; a travel mist bottle works fine.
Output Control
Dosing Cup
Sized to your portafilter basket. Catches grounds cleanly, lets you check output weight, and gives you even distribution before loading.
Retention Clear
Bellows Attachment
A rubber bulb that fits the grinder’s exit chute. Blasts retained grounds out after grinding. Check compatibility—not all grinders accept one.
Equipment
Low-Retention Grinder
If shopping for new equipment, retention behavior and single-dosing compatibility are worth prioritizing alongside grind quality and burr geometry.
The grinder itself matters most. Low retention makes every other step easier and more forgiving. If you’re evaluating equipment, retention specs are worth checking in any grinder review before you buy.
Common Questions
Frequently Asked Questions
What is a single-dose grinder workflow?
It’s a method of weighing and grinding only the coffee needed for a single brew, then clearing the grinder of retained grounds to ensure a precise, fresh dose every time. No old coffee mixing in, no wasted beans sitting idle in a hopper between sessions.
What is RDT and does it actually work?
RDT (Ross Droplet Technique) involves adding a few drops of water to whole beans before grinding to reduce static. It genuinely helps reduce clumping and retention on most grinders, though the effect varies by machine. It’s free to try and takes ten seconds—if it improves your grind exit, keep doing it.
How much coffee does grinder retention waste?
It depends on the grinder. Some retain less than 0.5 grams; others hold back 2–3 grams or more. Over time and across expensive beans, that adds up to real waste and dose inaccuracy. Weigh your input and output once to get a baseline on your own machine.
Do I need a special grinder to single-dose?
No, but some grinders are better suited to it than others. Low-retention grinders with straight exit chutes and bellows compatibility make the workflow easier. You can single-dose with a higher-retention machine—you’ll just need to compensate more aggressively with bellows or tapping.
Should I purge my grinder every time I use it?
Purging is most important when switching beans or adjusting grind settings. For daily use with the same bean and setting, a bellows or firm tap to clear the chute is usually sufficient. Save your purge grams for when they actually matter.
Final Takeaway
What Actually Matters Most
A solid single-dose grinder workflow isn’t about being obsessive—it’s about getting accurate feedback from every brew and not bleeding money into your grinder’s retention chamber. Weigh your beans, use RDT, grind into a dosing cup, clear the chute with a bellows or tap, and purge when you switch beans or adjust your setting.
Each step is small. Together, they make your results meaningfully more consistent and your coffee meaningfully less wasteful. The beans are too good—and too expensive—to let a sloppy workflow get in the way.
